Our Chick Set-up
NOTE: I will be talking about and providing links for the products we use, but none of these links or products are affiliate or sponsorship links. We purchased these products with our own money and were not asked by any company to review or talk about them (side note, this is not a review or endorsement of any of these products, they’re just the products we’re using to raise our chicks).

Baby girls catching some zzzs
As first-time chicken owners, we wanted to make sure that we had everything we’d need to take care of a flock of baby chickens before we brought them home. And, as first-time chicken owners, we learned from a lot of internet chicken experts to help us figure out what those things were.
While I pulled from several different places, the one I eventually modeled my own brooder after was by Oak Abode. I made a few changes to my own set up based on product availability and personal preferences, but mostly used her example as my guide.
The Brooder
The first thing the babies needed was a place to stay that was contained, but roomy enough to allow them to grow, play, and explore… at least until they were big enough to go out into their coop.

For some reason, I totally forgot to take a picture of the whole rig before we tore it down… DOH!
We picked up this collapsible brooder (“small animal playpen”) on Amazon. The bottom was water resistant, not water proof, so we put a tarp underneath it to protect our floors. The top zipped up to keep the girls safely contained, but still let light in. It’s not easy to see in this picture, but it was spacious enough to include their heat plate, feeder, waterer, and a perch toy, while still having plenty of space for them to run around.
Toward the last week or so, they were starting to get a little bit cramped, but this brooder served us very well for the six weeks that we had them in the house.
Hot Hot Heat
I knew before we even had a Chicken Day date that I did not want heat lamps. I’ve had iguanas and chameleons growing up, so I knew the headache of dealing with heat lamps. Properly placing a heat lamp is a little bit easier with a lizard living in a terrarium with hard sides—especially with a lizard who can climb branches and perches to get closer to or farther from the lamp based on his own preferences. But more than that, their terrarium was lined with rocks and pebbles, not combustible pine shavings that are perfect for kindling.

A pretty bad picture of the heat plate in active use.
Our brooder was pretty large with soft sides—placing a heat lamp would require some sort of rig to heat their brooder, and I would always worry about whether or not it was close enough to really keep the babies warm.
We went with a heat plate by Rent-a-Coop that had adjustable legs and a “no perch” topper that the chicks could rest under to warm up. It keeps a constant, perfect temperature that mimics what baby chickens would get when being raised by their chicken moms. Most importantly, though, it wasn’t a fire hazard.
The Brood Feeder and Waterer
The in-brood feeder and waterer we chose were also by Rent-a-Coop. While I knew that I wanted a different, much larger, feeder and waterer for their outdoor chicken run, I also wanted a good feeder and waterer that could grow with them when they moved into their coop.
Sookie going for a bite.
The feeder holds up to 10lbs of food and keeps it protected from the elements (“the elements” in this case refers mainly to the chicks standing in their food and pooping in it). The chicks figured it out very quickly and we’ve had no problems with it thus far. It’s possible that as they get bigger, they may find the opening a bit small for them. It’s worked well for us, and is good for a back-up/in-coop feeder

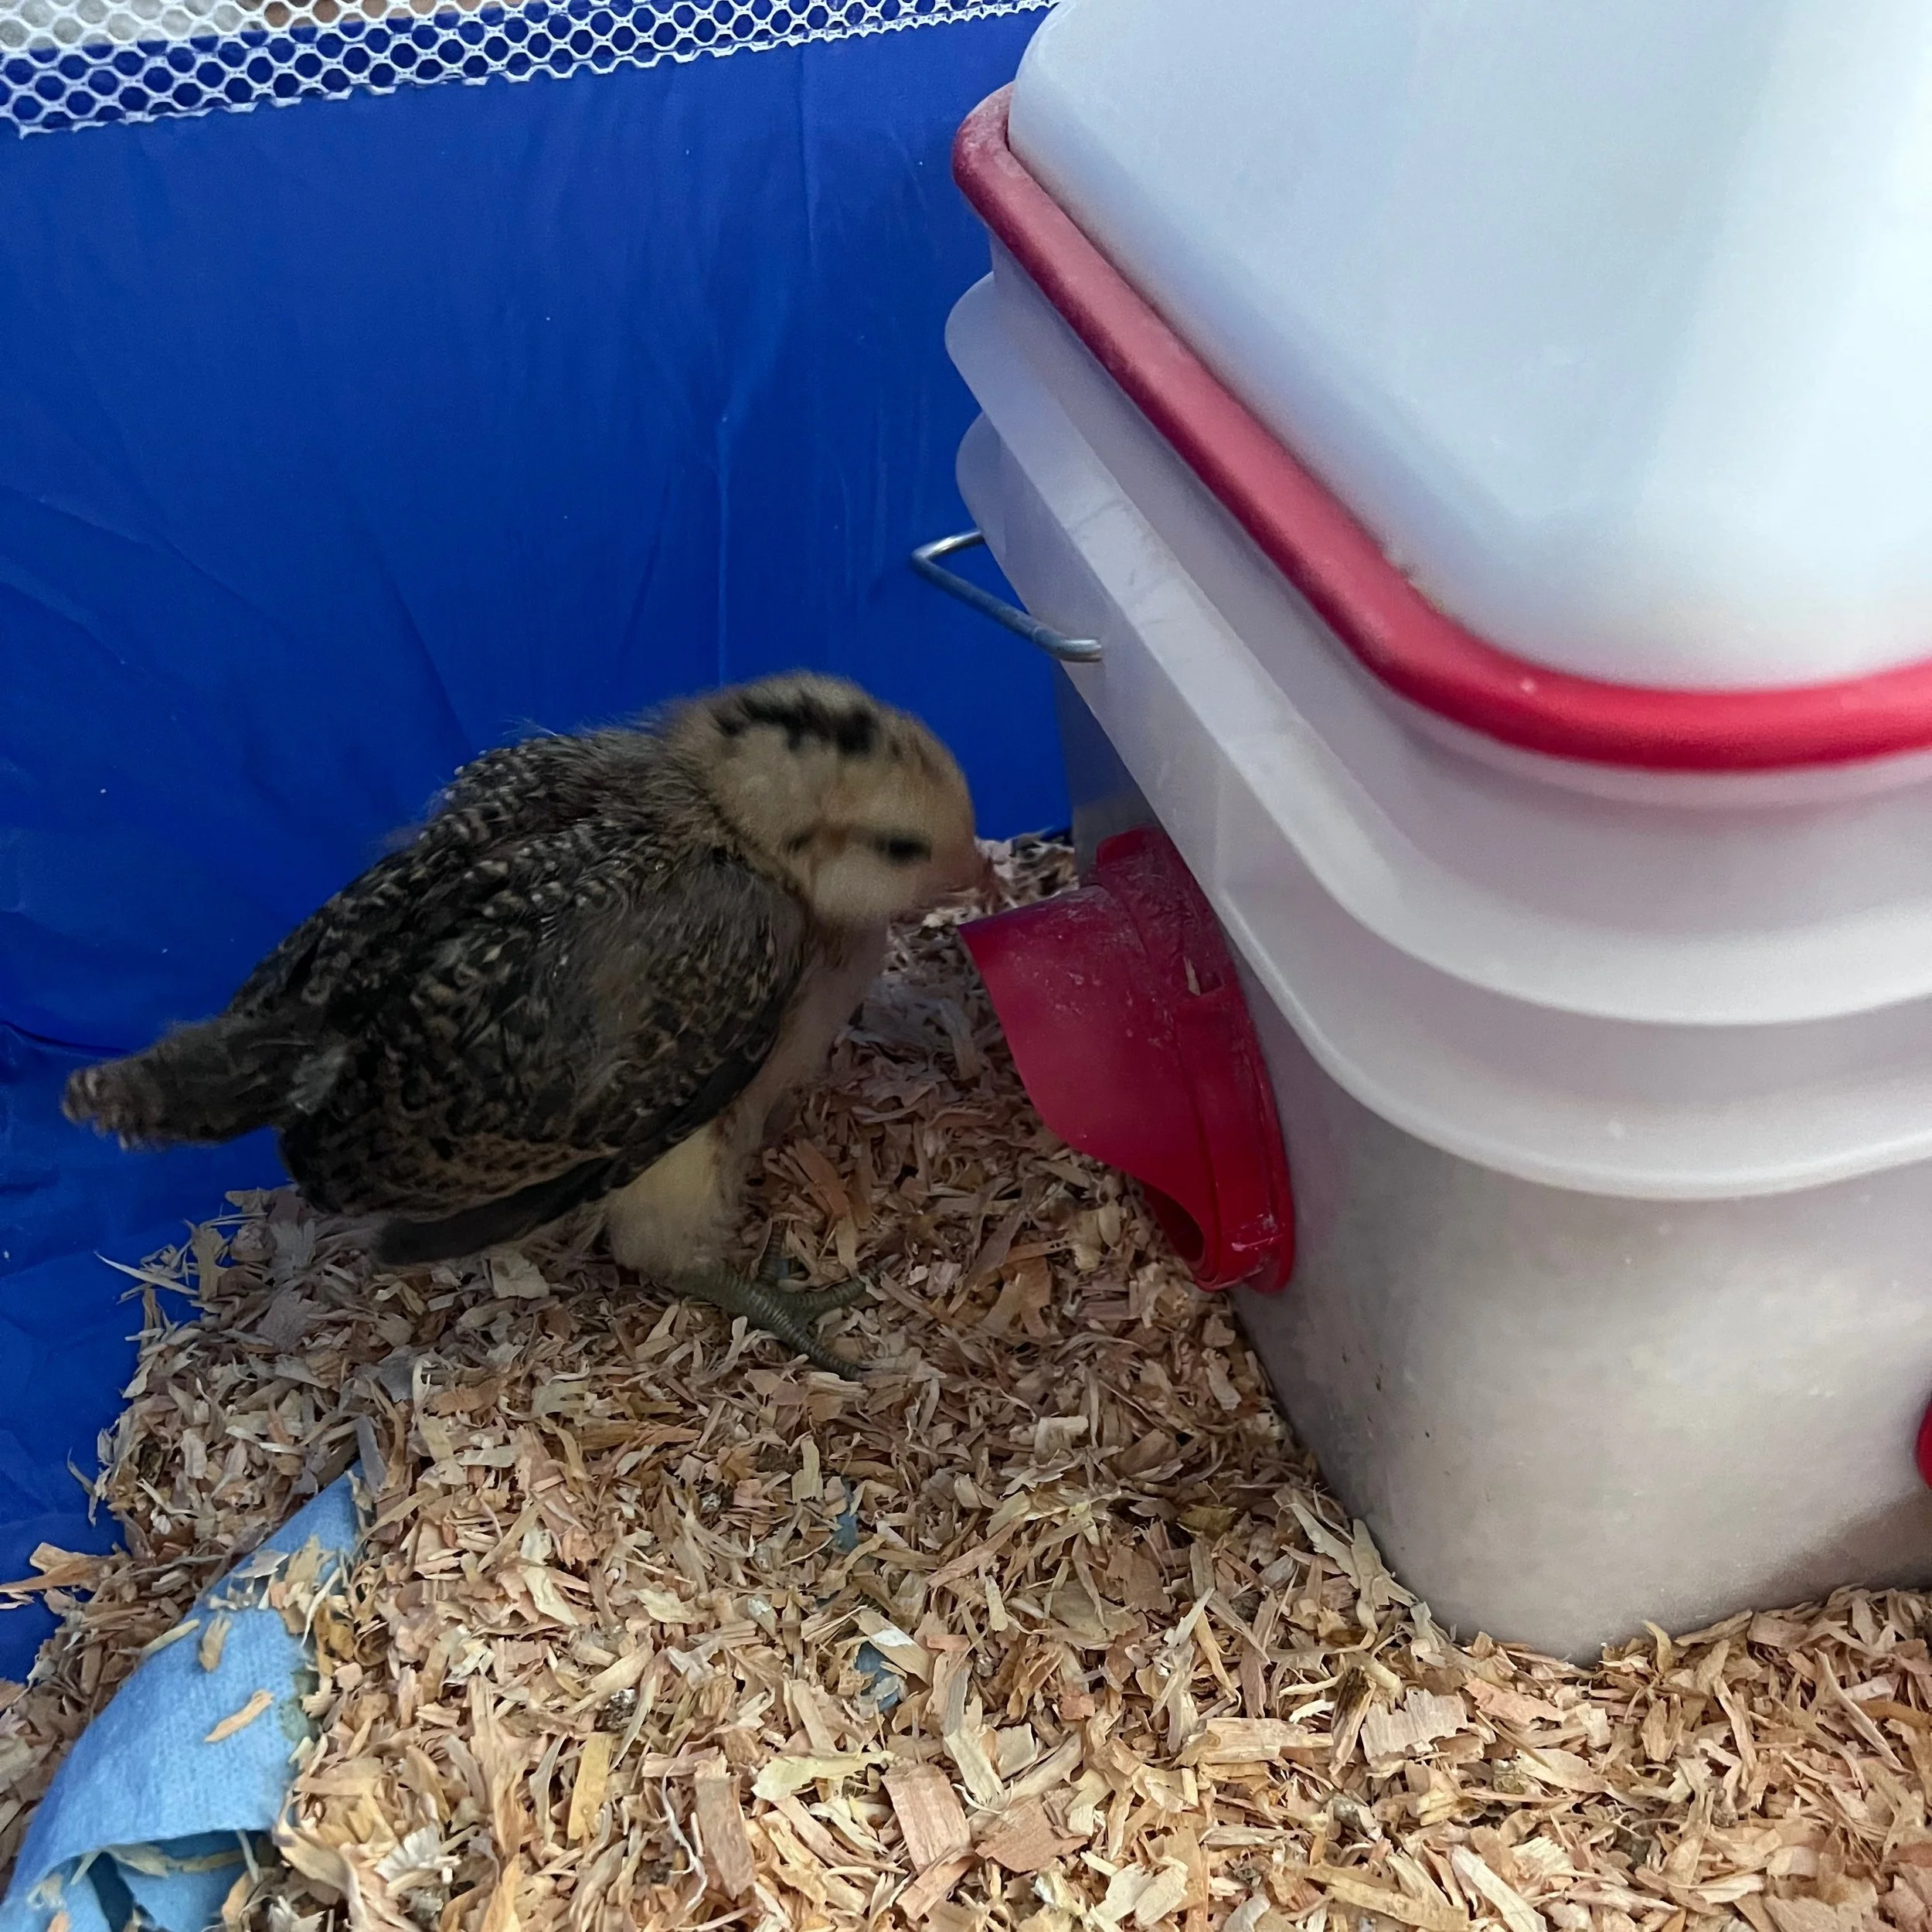
A view of the waterer in (sort of) action
The waterer holds 2 gallons and has small ports that the chickens can peck at to get water. Again, it keeps the chicks from stepping (and pooping) in their water, while also being heavy enough to keep them from being able to knock it over. I did end up getting a cheap traditional water dispenser from our local co-op because newborn chicks weren’t quite strong enough to get much water from the ports. However, after about three weeks, we were able to remove the small water dispenser from their brooder and use the Rent-a-Coop waterer exclusively.
Food and Supplements

Our local Co-op sells a brand of organic, non-gmo, local feed called Scratch and Peck, and after reading up on their website and seeing lots of positive reviews, decided to go with this brand. It’s also cool that they’re located about 40 minutes North of us. Thus far, our chicks love the food and are very healthy and energetic, so I don’t have any complaints about the quality.

In addition to their food, I also gave them a probiotic/electrolyte blend for the first week or so to make sure they were fully recovered from their journey from their hatchery to the co-op to their new home—that’s a lot for such little babies to go through! I also used it any time I let them play outside (before they moved permanently into the coop), just in case they ate anything weird in the grass or they got too stressed being moved from the brooder to their playpen.
Speaking of their playpen…
Play Time!

It finally warmed up enough for them to go outside!
Once the weather finally turned sunny and temps started to rise, we were able to give the girls time to play in the yard. We got this playpen for them that came with the cover included. Not only did it provide them some shade and protection from aerial predators (we have LOTS of those in our area), but it also kept them in one place so that we could easily get them back into their brooder for the night, since night-time temps were still way too cold for them.
Coming Soon
In the next post, I’ll talk about their coop and run set up, because the girls are full-time, outdoor chickens now, and they’re doing great in their new home!